Are you tired of smudged, chipped, or uneven nail polish? Whether you’re a beginner or a seasoned nail enthusiast, achieving a salon-quality manicure at home is easier than you think! In this step-by-step tutorial, we’ll walk you through everything you need to know to polish your nails like a pro. Let’s get started!
What You’ll Need:
Before we dive in, make sure you have these essentials ready:
- Nail polish (your favorite shade!)
- Base coat
- Top coat
- Nail polish remover
- Cotton pads or balls
- Nail file and buffer
- Cuticle pusher or orange stick
- Hand lotion or cuticle oil
Step 1: Prep Your Nails
The key to long-lasting nail polish starts with proper preparation.
- Remove Old Polish: Use a cotton pad soaked in nail polish remover to wipe away any old polish.
- Shape Your Nails: Use a nail file to shape your nails into your desired style—round, square, almond, or stiletto.
- Buff the Surface: Gently buff your nails to smooth out ridges and create a perfect canvas for polish.
- Push Back Cuticles: Use a cuticle pusher or orange stick to gently push back your cuticles for a clean look.
Step 2: Apply a Base Coat
A base coat is non-negotiable! It protects your nails from staining, helps the polish adhere better, and extends the life of your manicure.
- Apply a thin, even layer of base coat to each nail.
- Let it dry for 1-2 minutes before moving on to the next step.
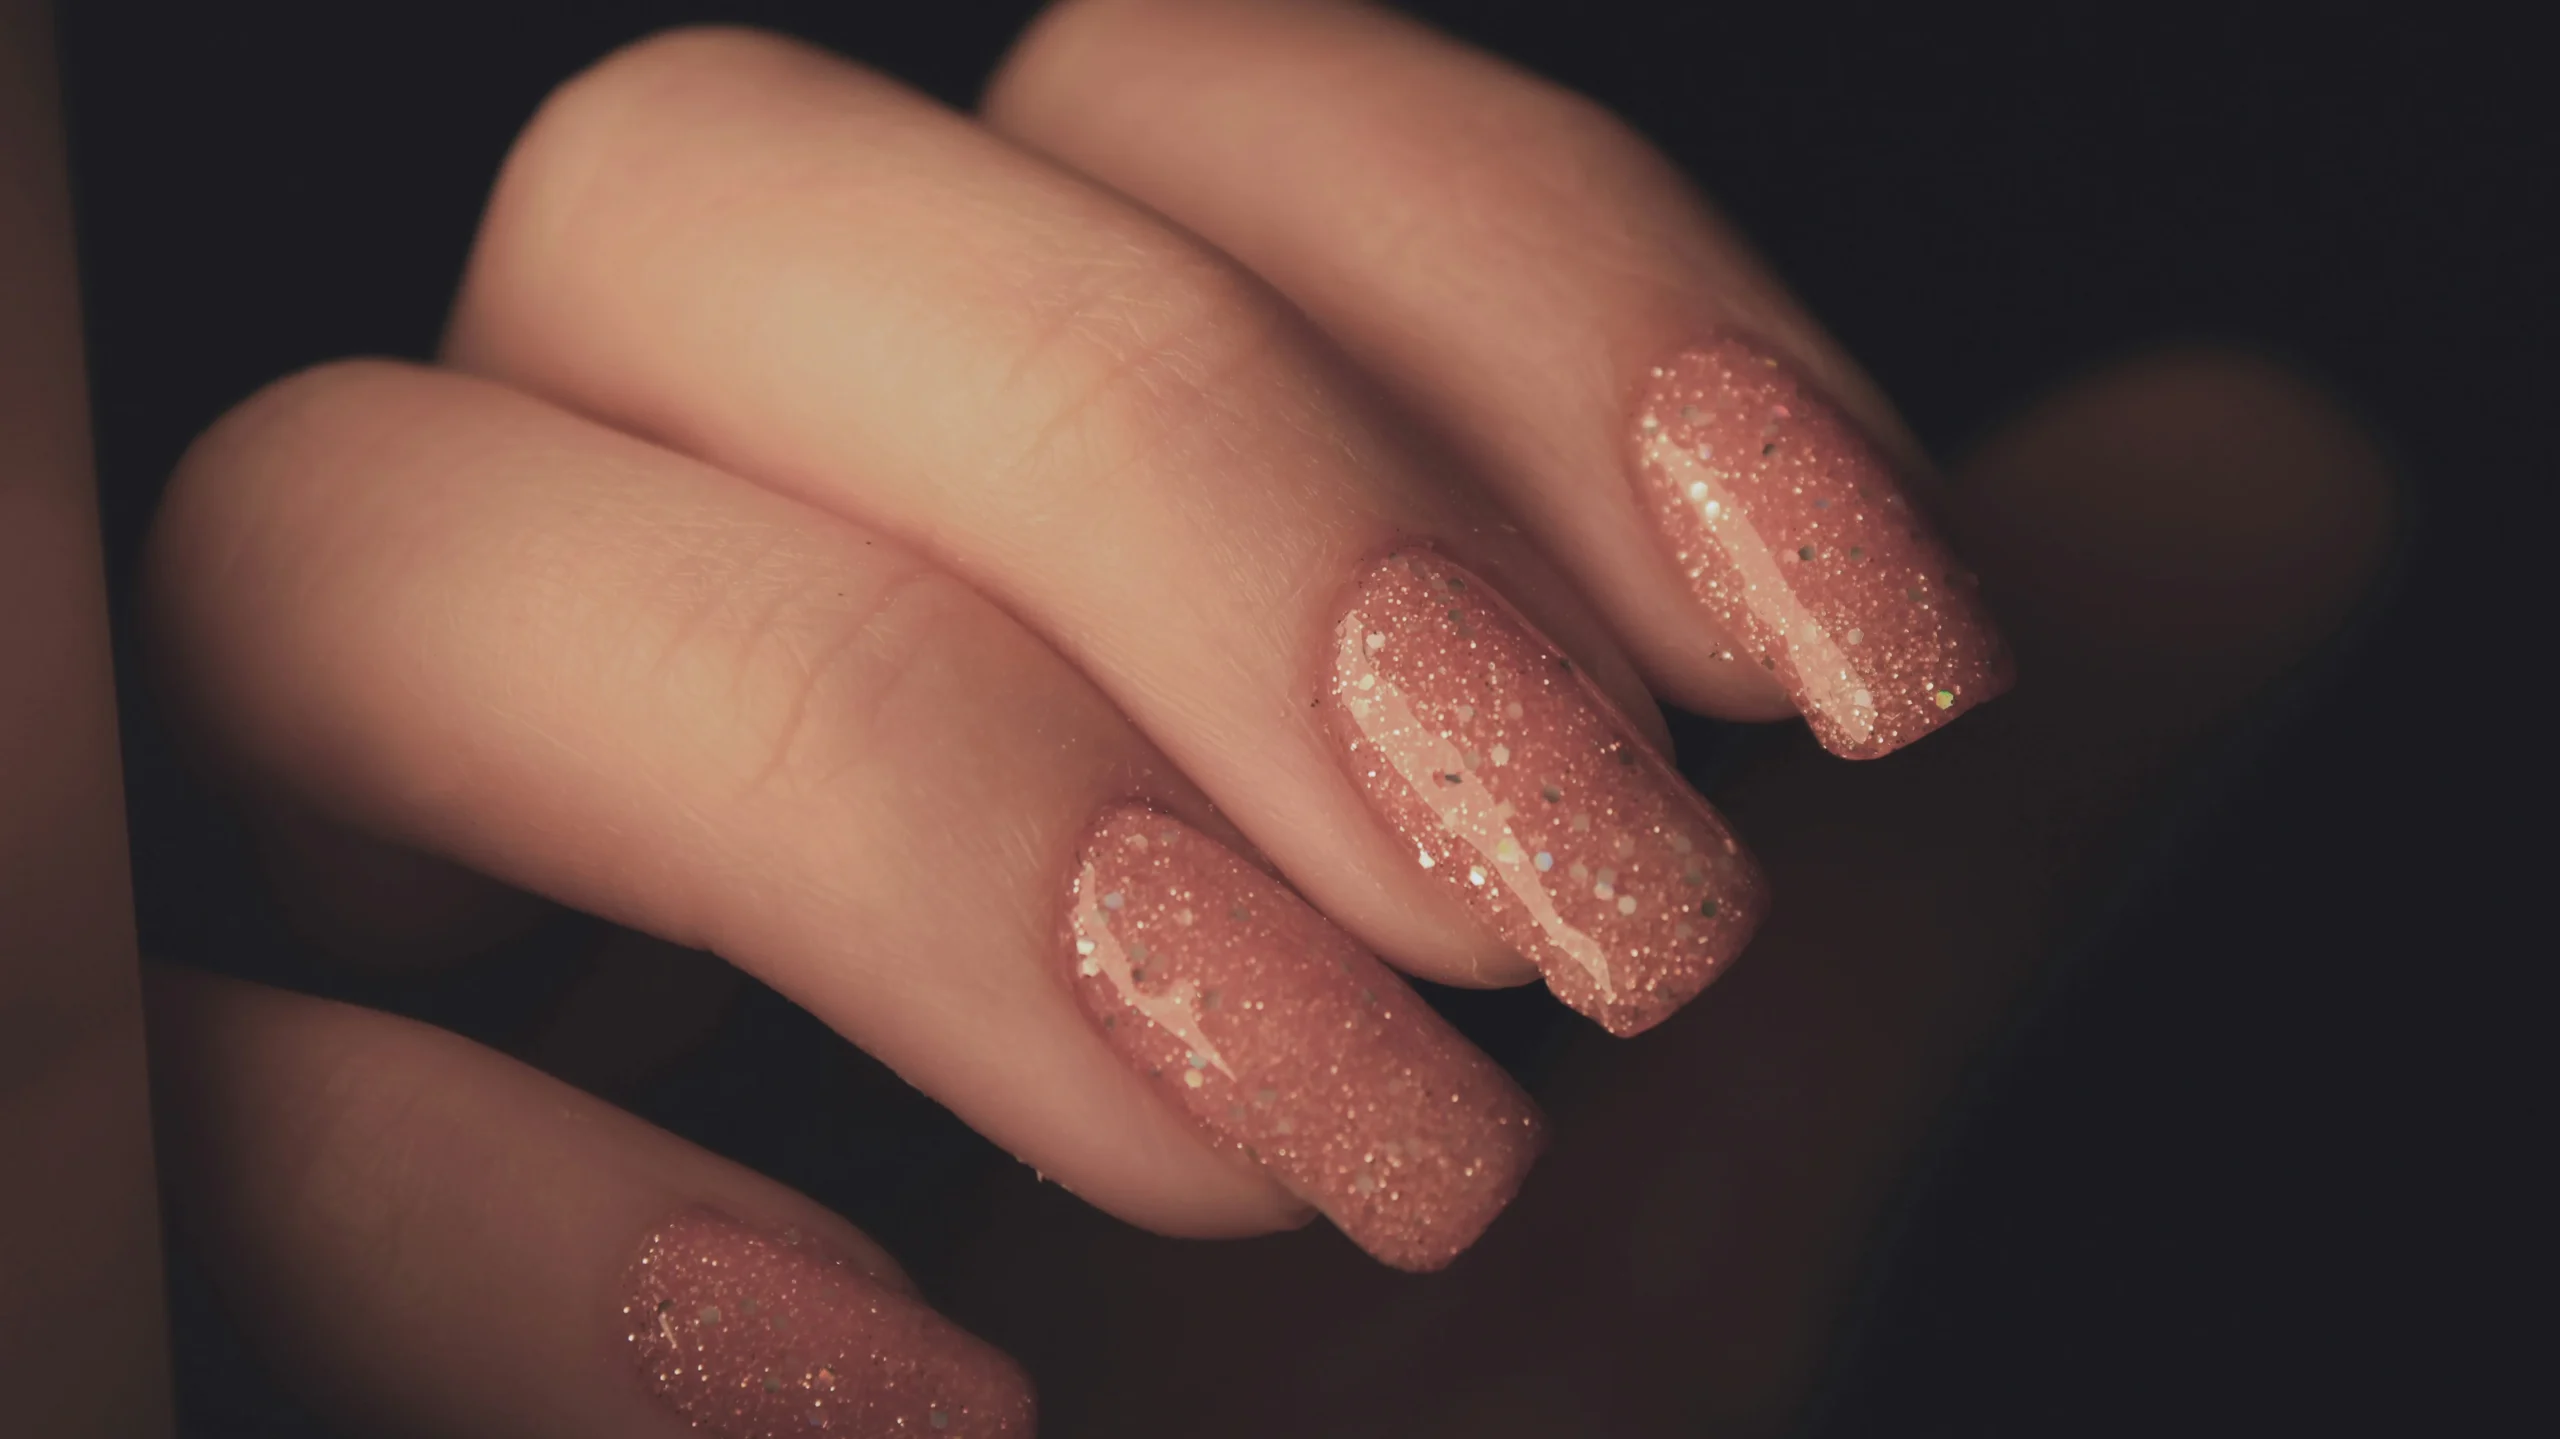
Step 3: Apply Your Nail Polish
Now for the fun part—adding color!
- Shake the Bottle: Gently shake your nail polish bottle to mix the formula.
- Start with thin layers: Dip the brush into the polish and wipe off excess on the rim of the bottle. Apply a thin, even layer starting from the base of your nail (near the cuticle) and stroke upward to the tip.
- Use the 3-Stroke Method: For even coverage, use three strokes—one down the center, one on the left side, and one on the right side.
- Let It Dry: Allow the first coat to dry for 2-3 minutes before applying a second coat.
Pro Tip: If you’re using a light or sheer polish, you may need a third coat for full opacity.
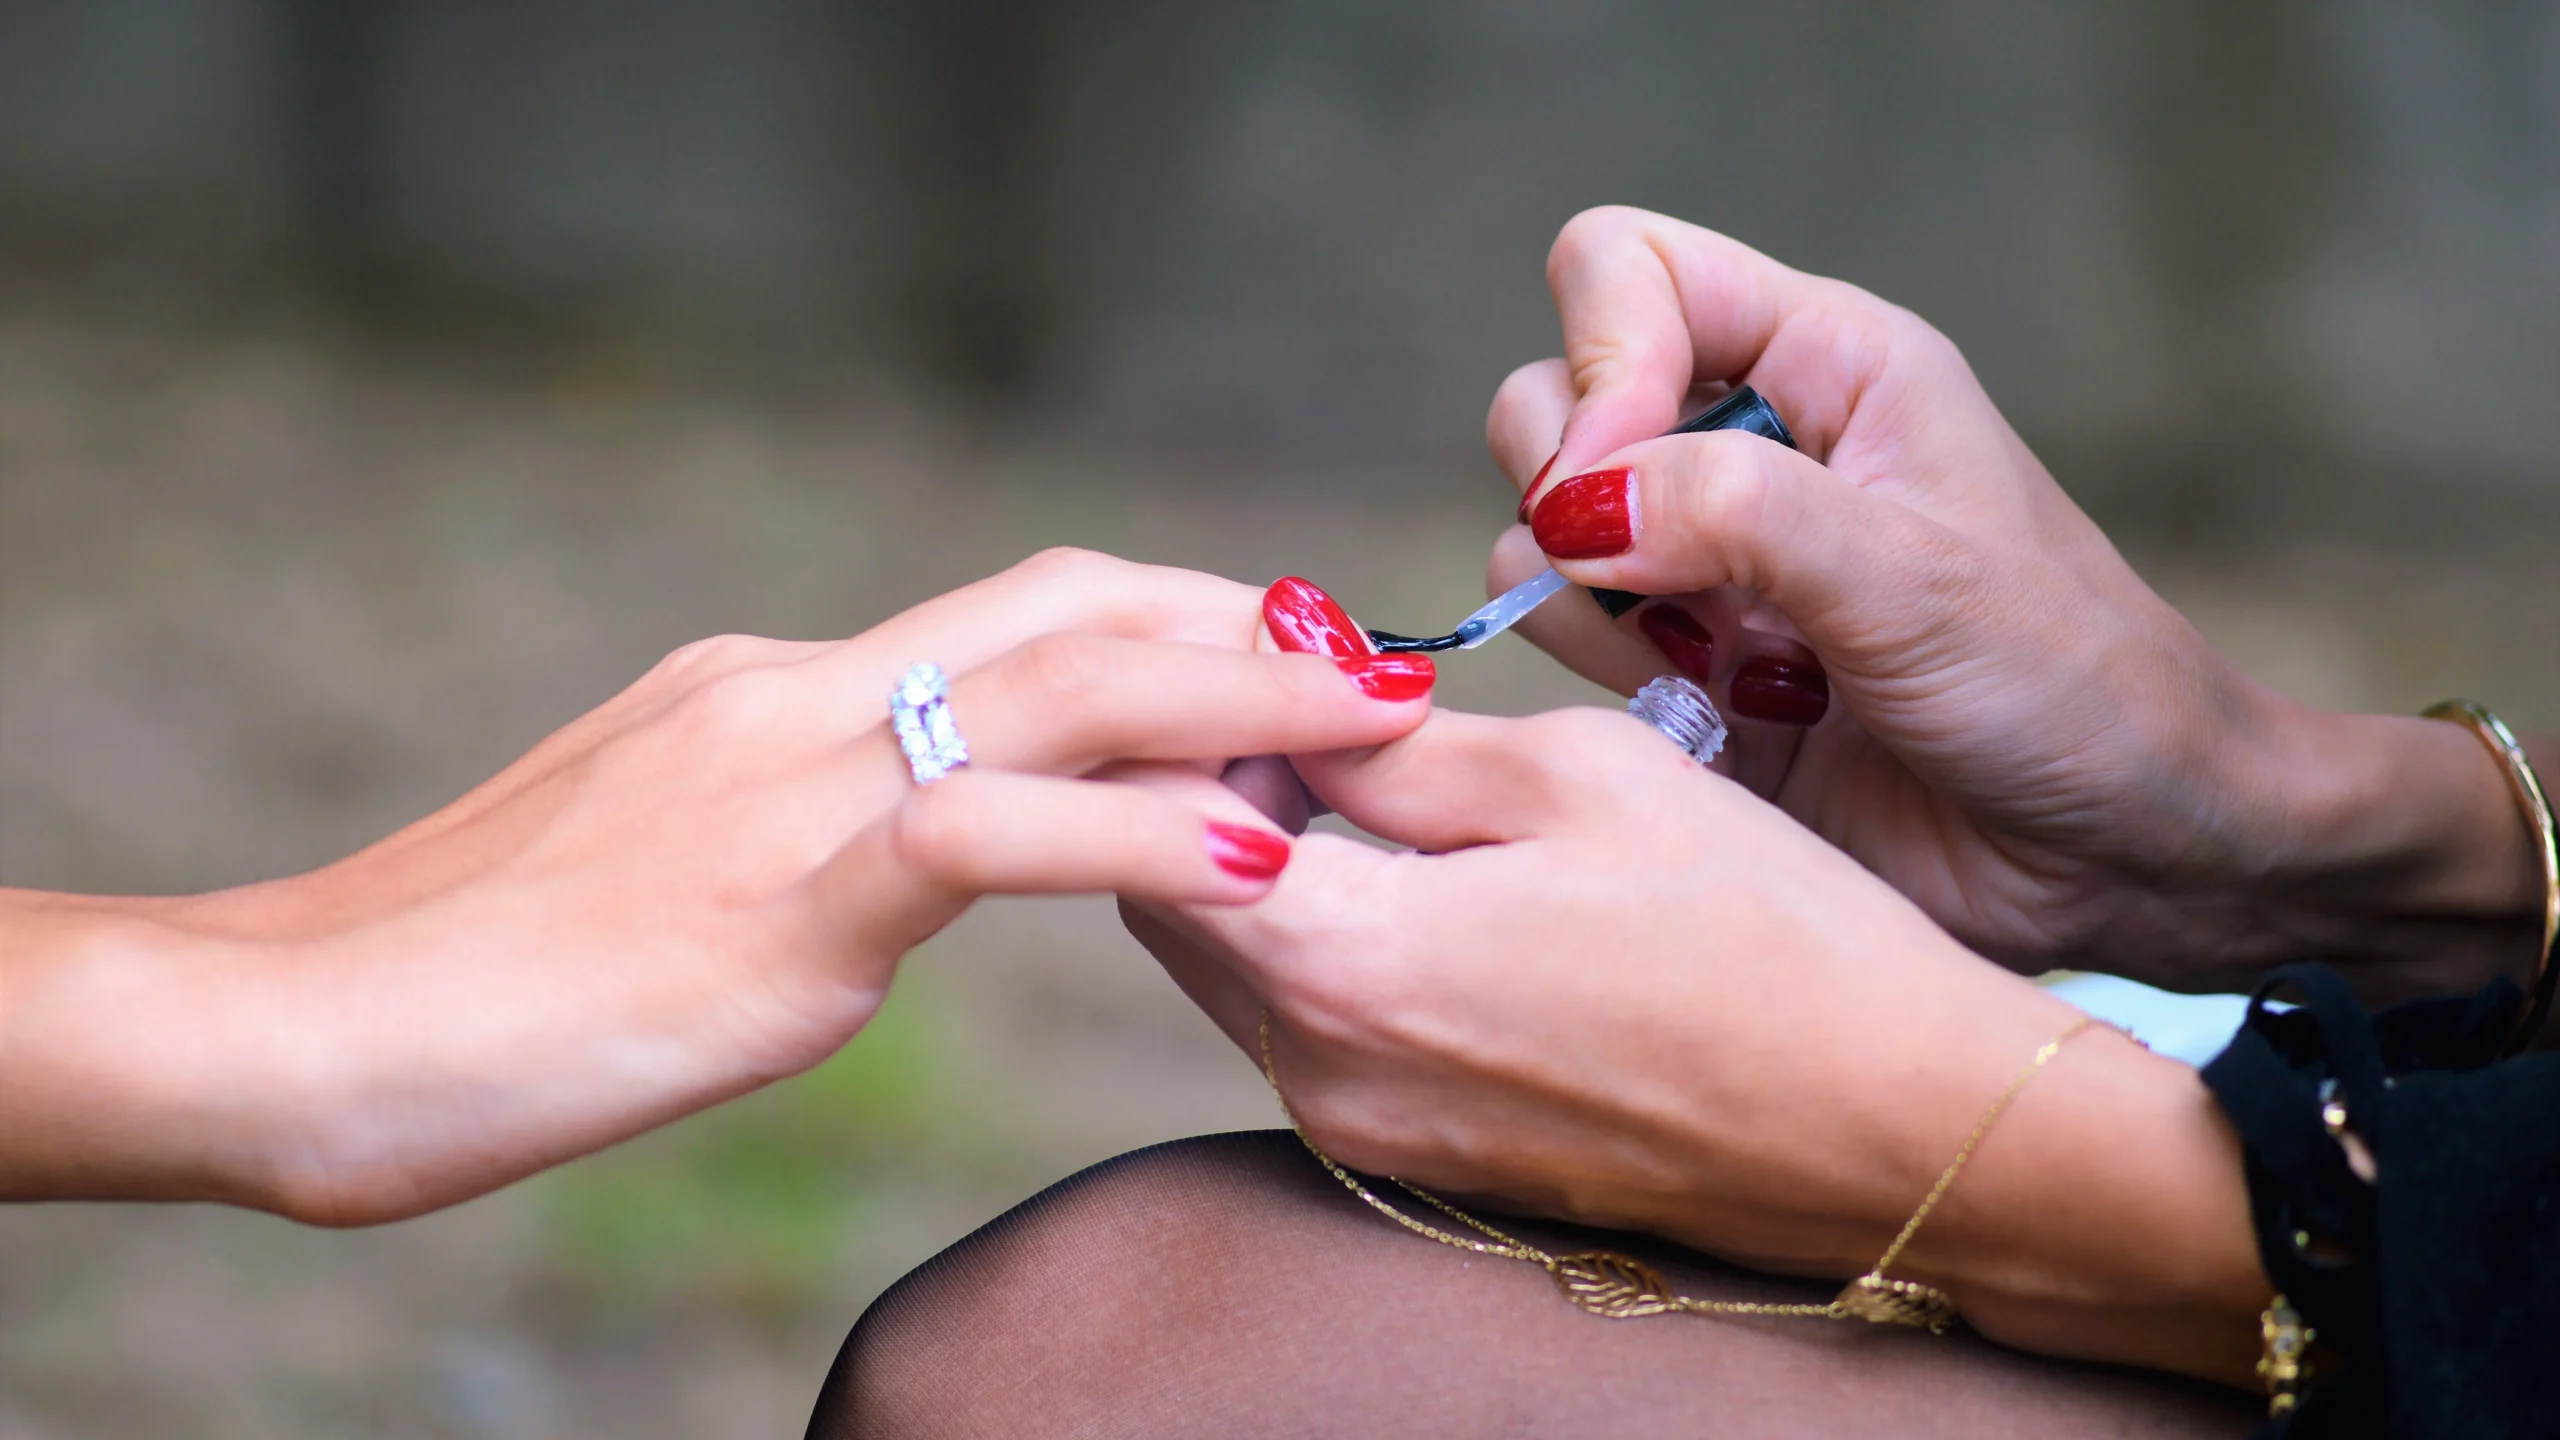
Step 4: Clean Up Mistakes
Oops! Got polish on your skin? No problem.
- Dip a small brush (or a cotton swab) in nail polish remover and carefully clean up the edges around your nails.
Step 5: Seal with a Top Coat
A top coat is the secret to a glossy, long-lasting manicure.
- Apply a thin layer of top coat over your polished nails.
- Make sure to seal the tips of your nails to prevent chipping.
Step 6: Moisturize Your Hands
After all that hard work, your hands deserve some TLC!
- Apply hand lotion or cuticle oil to hydrate your skin and nails.
- Gently massage it in for a relaxing finish.
Step 7: Let It Dry Completely
Patience is key! Avoid smudging your nails by waiting at least 15-20 minutes for your polish to fully dry. For extra protection, you can use a quick-dry spray or drops.
Bonus Tips for a Perfect Manicure:
- Work in a Well-Lit Area: Good lighting helps you see every detail and avoid mistakes.
- Don’t Rush: Thin layers dry faster and last longer than thick, gloopy coats.
- Store Polish Properly: Keep your nail polish in a cool, dark place to prevent it from thickening.
- Experiment with Designs: Once you’ve mastered the basics, try adding nail art, glitter, or ombre effects!
